Miravia Open Platform
Miravia - Getting Started
Welcome to Miravia Open Platform! This is a step by step guide to help you with registration and onboard to our open platform. Start the development of your application with Miravia API today, deploy your application online and share your application with Miravia sellers. Follow the below steps to set up your integration now!
Step 1: Register your Open Platform account with Miravia and verify your profile :
- Sign up with your email and verify your email address. Register with your email and finish e-mail verification with Miravia


- Verify your profile type. After finishing sign up, you will be asked to verify your profile and identity with open platform, there are 2 types of profiles you can apply, please select based on your business needs:
Seller Profile —— Select this if you are a Miravia seller and planning to connect with Miravia through Open API. The applications you created are used for your internal use. You will be asked to login to your seller center account and we will create the open platform profile for you after log in success.
ISV Profile —— Select this if you are devloping your application to provide services to sellers and your applications are publicly available. ISV profile needs to be reviewed by Miravia legal and Ops team and be compliant with local business and data security laws. (it takes about 2-3 business day for Miravia team to review and approve your profile)

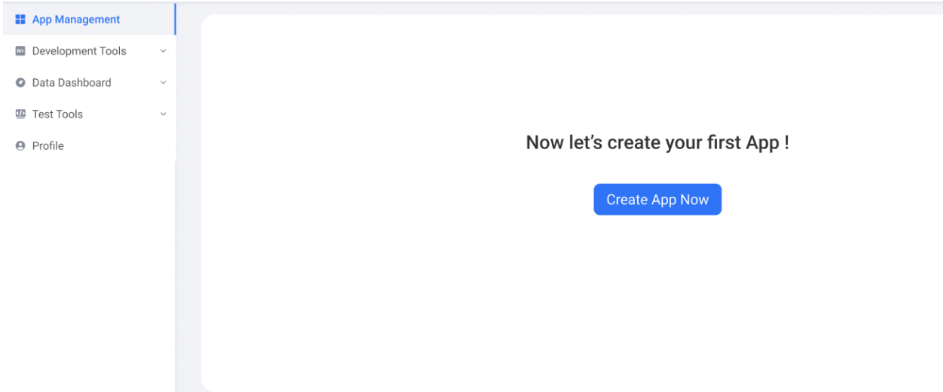
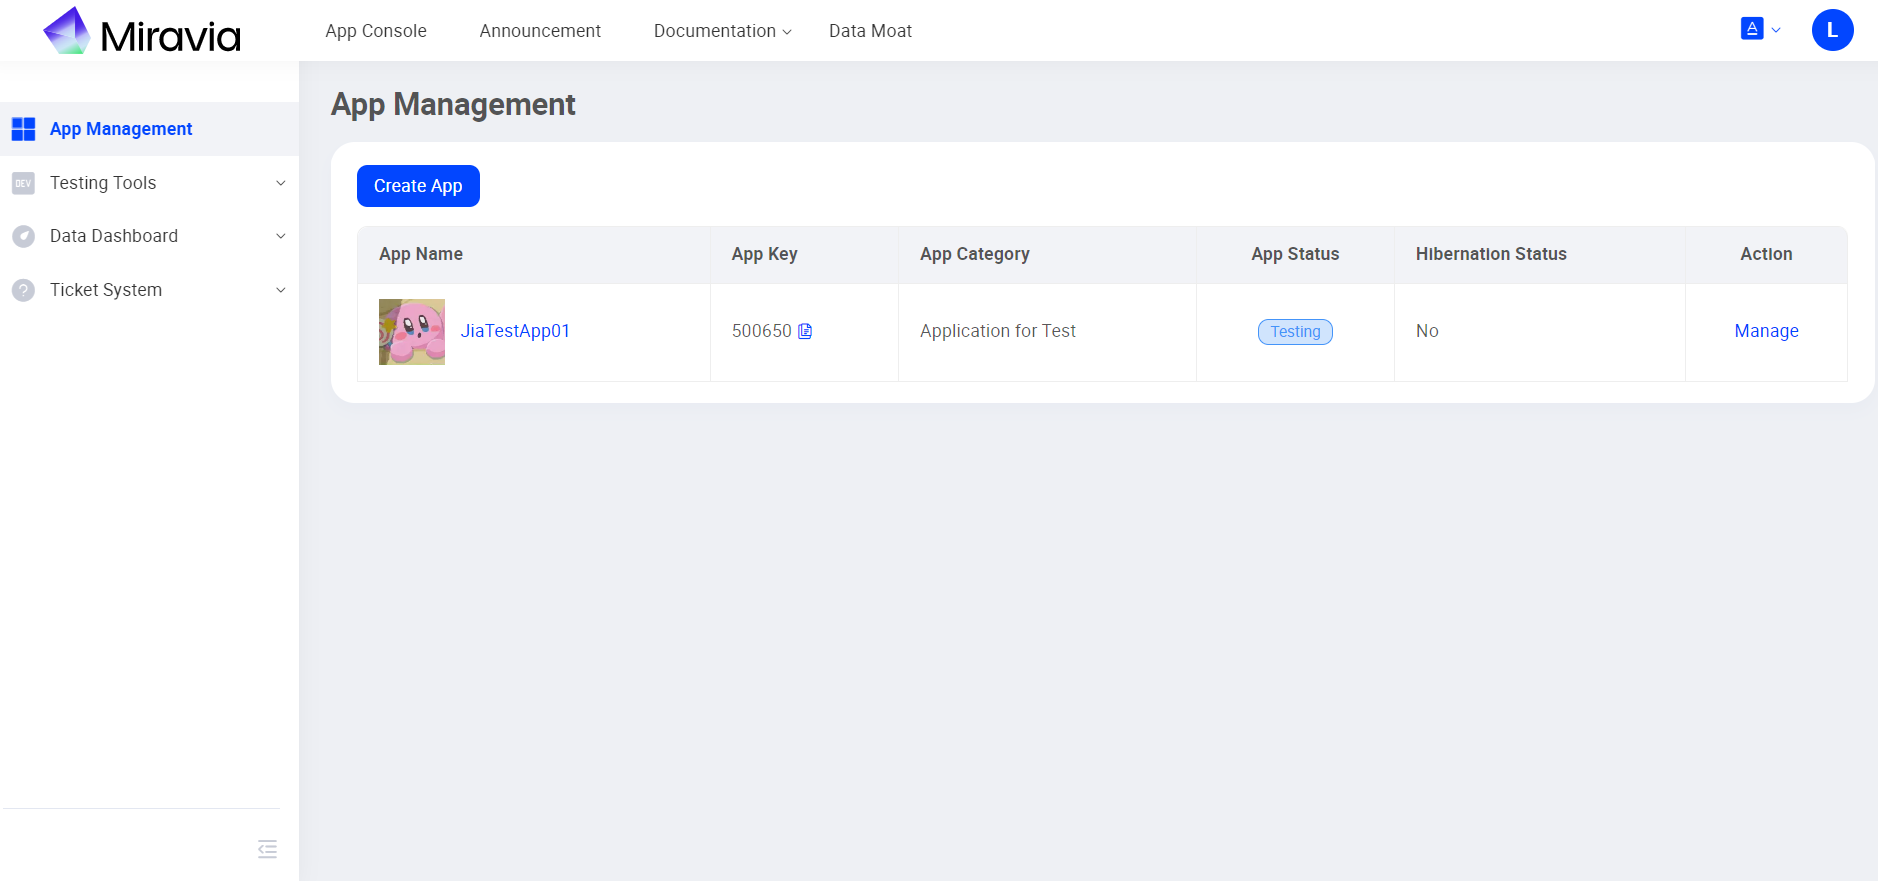
Step 2: Create your application with Open Platform:
Once your profile approved by Miravia team, you can now start to create you first App with Miravia Open Platform
- Apply for App Category permission.You will need to get the permission for App Category first before creating the application.Application category is used for initializing data configuration when the application is created. It is a template that defines the APP’s authorization strategy, authorization duration, API group permission, API call limit strategy and other information. An application can belong to only one application category. there a total of 3 different types of App category in Miravia.
Application for test - Application for testing purpose, all api permission authorized. max 1 app can be created.
Seller In House App - Application developed for seller internal use. max 3 apps can be created under this category
Public App - Application for service providers to provide services publicly. Max 1 apps can be created under this category.

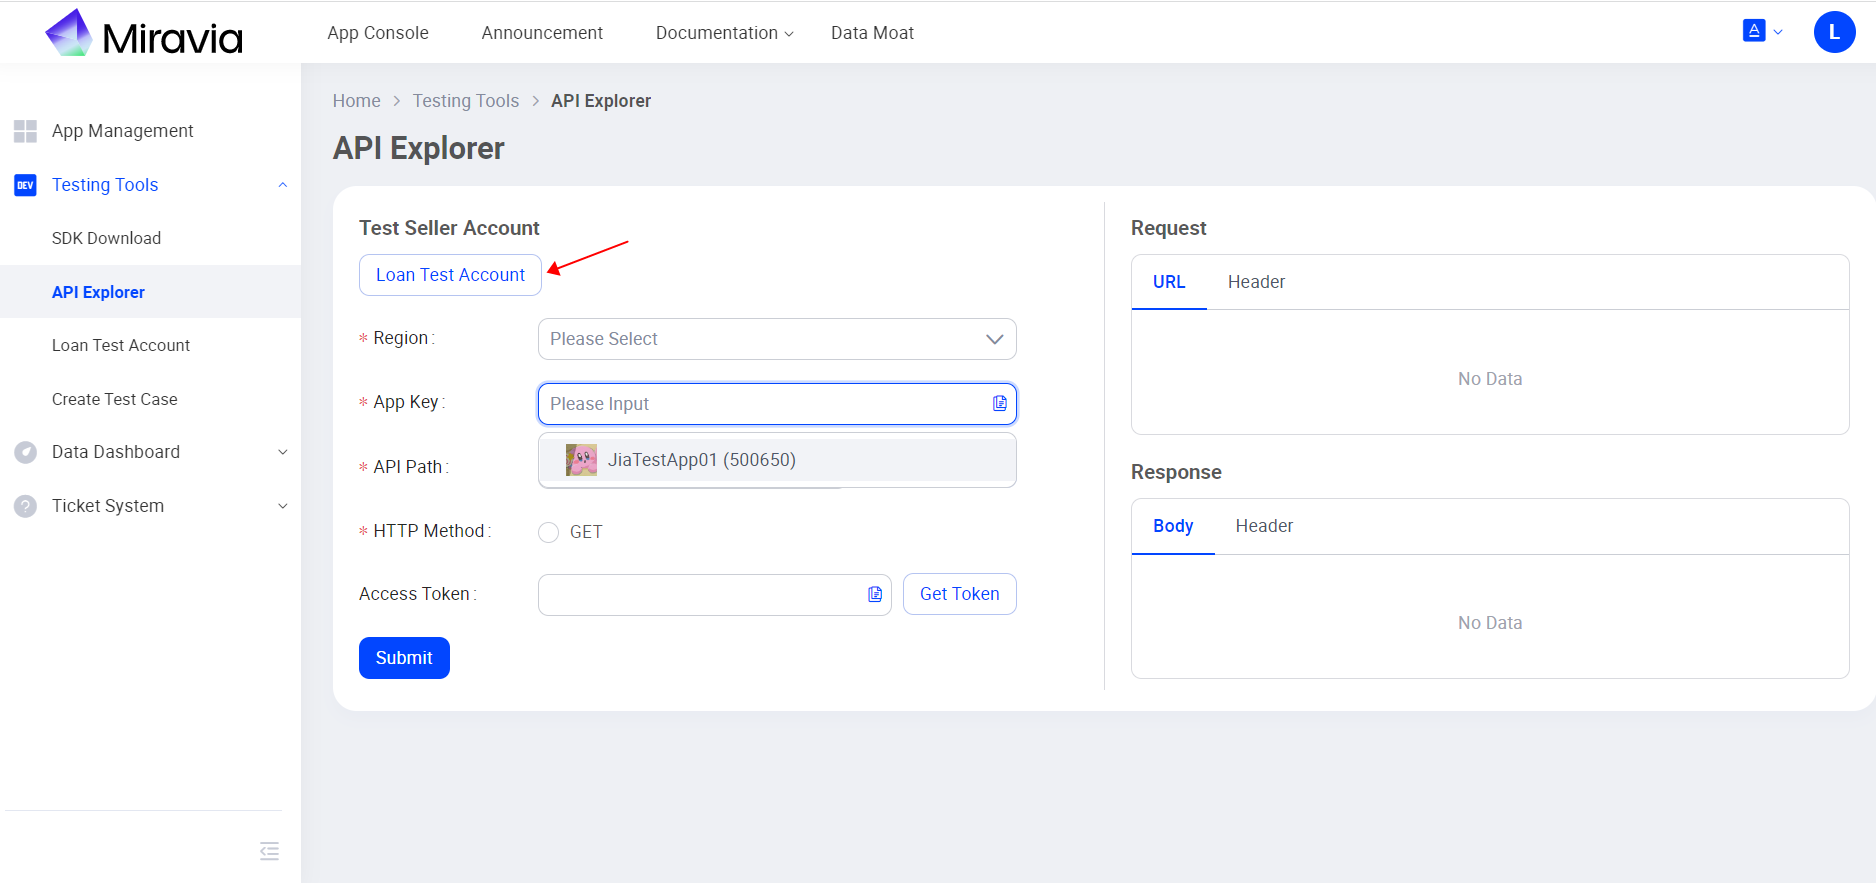
Step 3: Loan test acounts and try out our API calls through API explorer
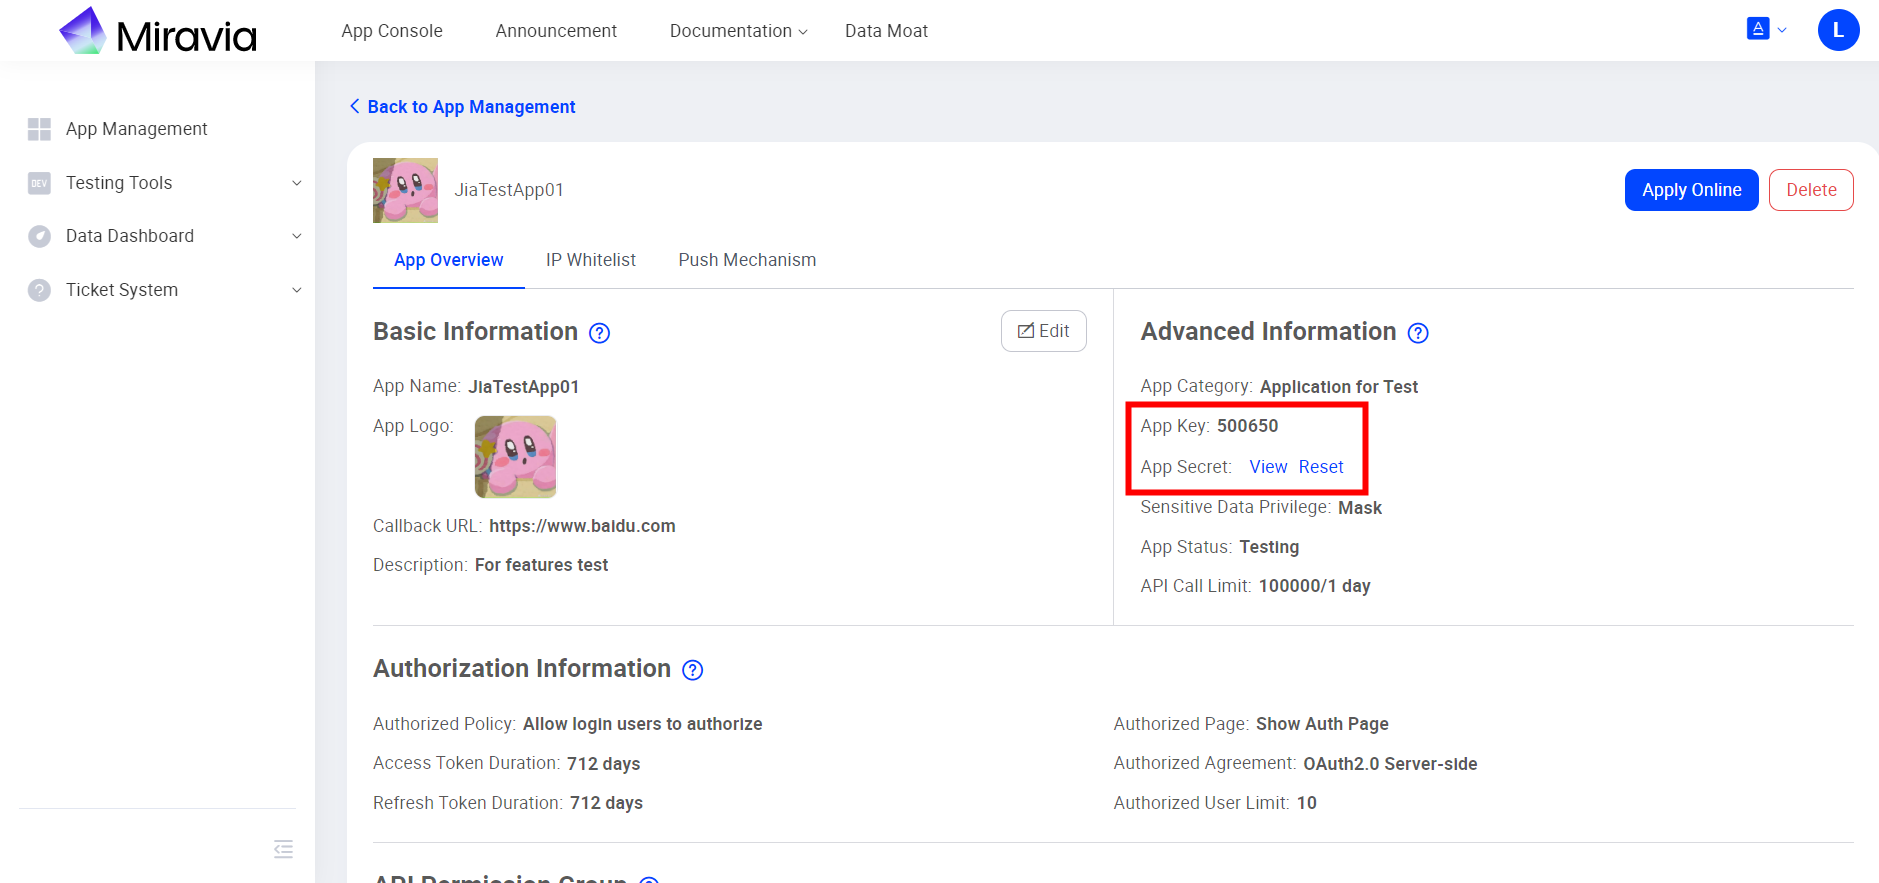
Step 4: Retrive you app key and app secret from App Management
Step 5: Configure Seller Authorization
Before accessing seller's account and perform product listing, management etc. actions on behalf of seller, you will need to get the authorization from seller first. Miravia open platform follows the Oauth2.0 protocol and please fine more infomation below:
Seller authorization introduction - Overall intro to seller authorization.
Configure seller authorization - Manage a list of sellers who can authorize your application to access their business data in Miravia marketplace.
Step 6: Call API with official SDK or Http request
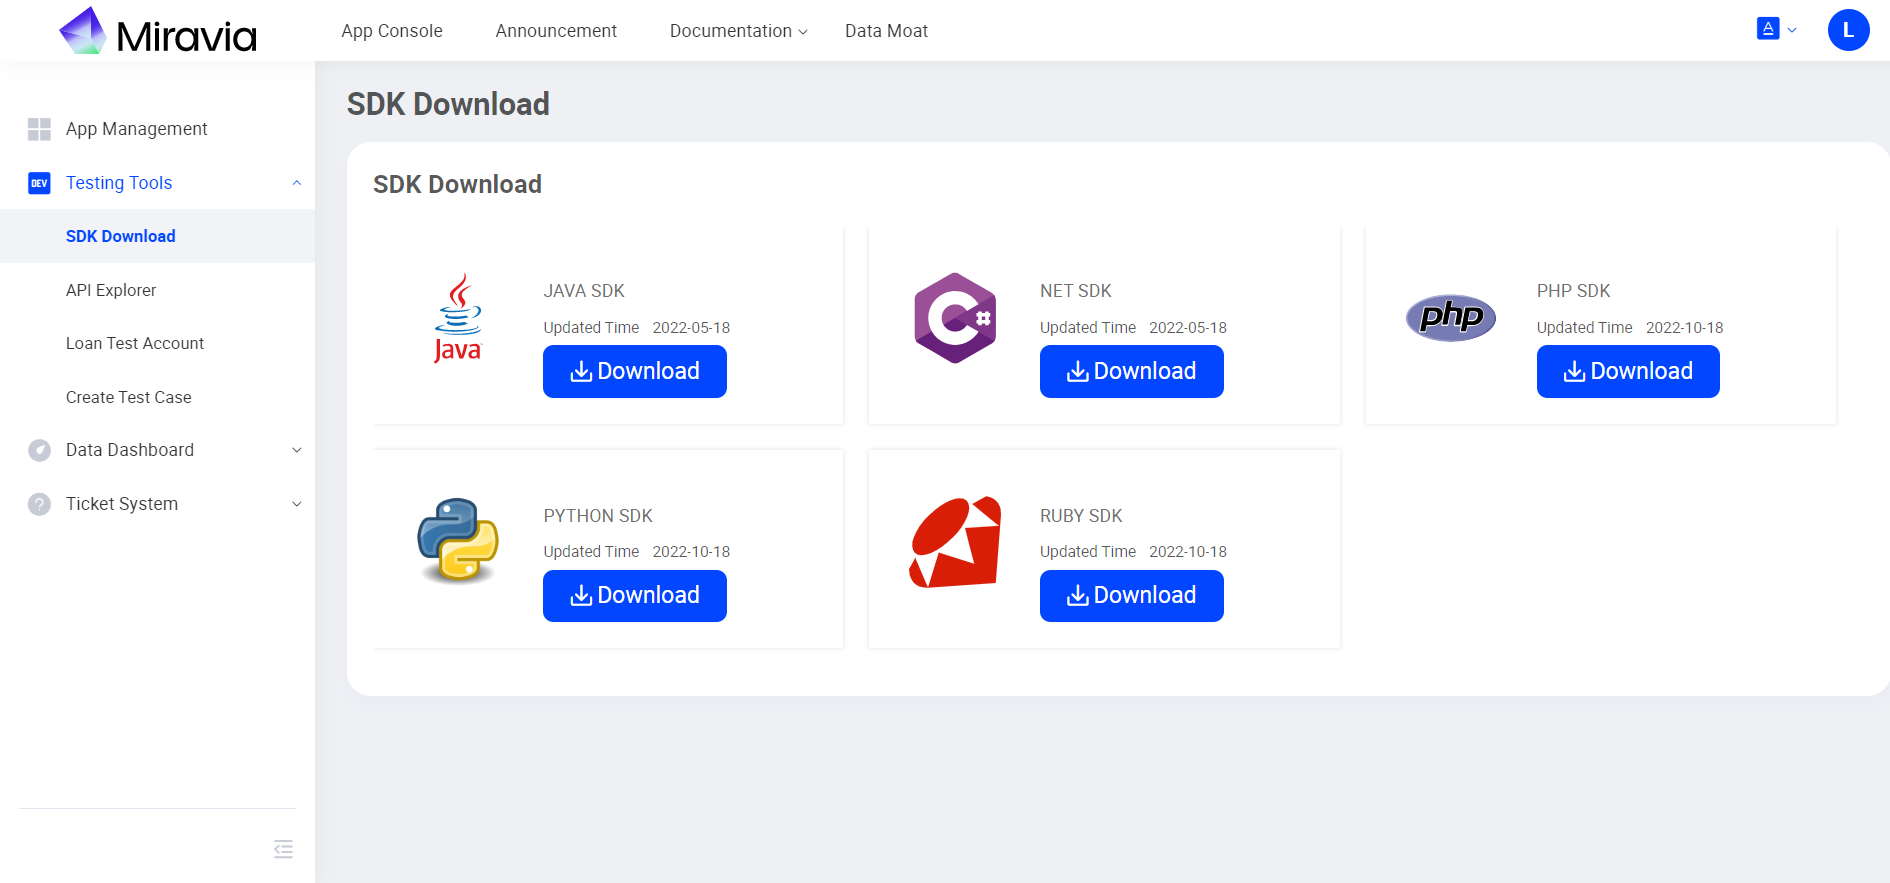
- Call API with official SDK (recommended) - Download official SDK for multiple programming languages, go to App Console -> Testing Tools -> SKD download to download our official SKD
- Call API with HTTP requests - Instructions on how to assemble HTTP requests to call API
Step 7: Finish Development and Apply Online
After you finished development and ready to go live with your application, go to App Console -> App Management -> App Details and click on Apply Online, it takes about 2-5 business day for our team to review your application and approve.

